
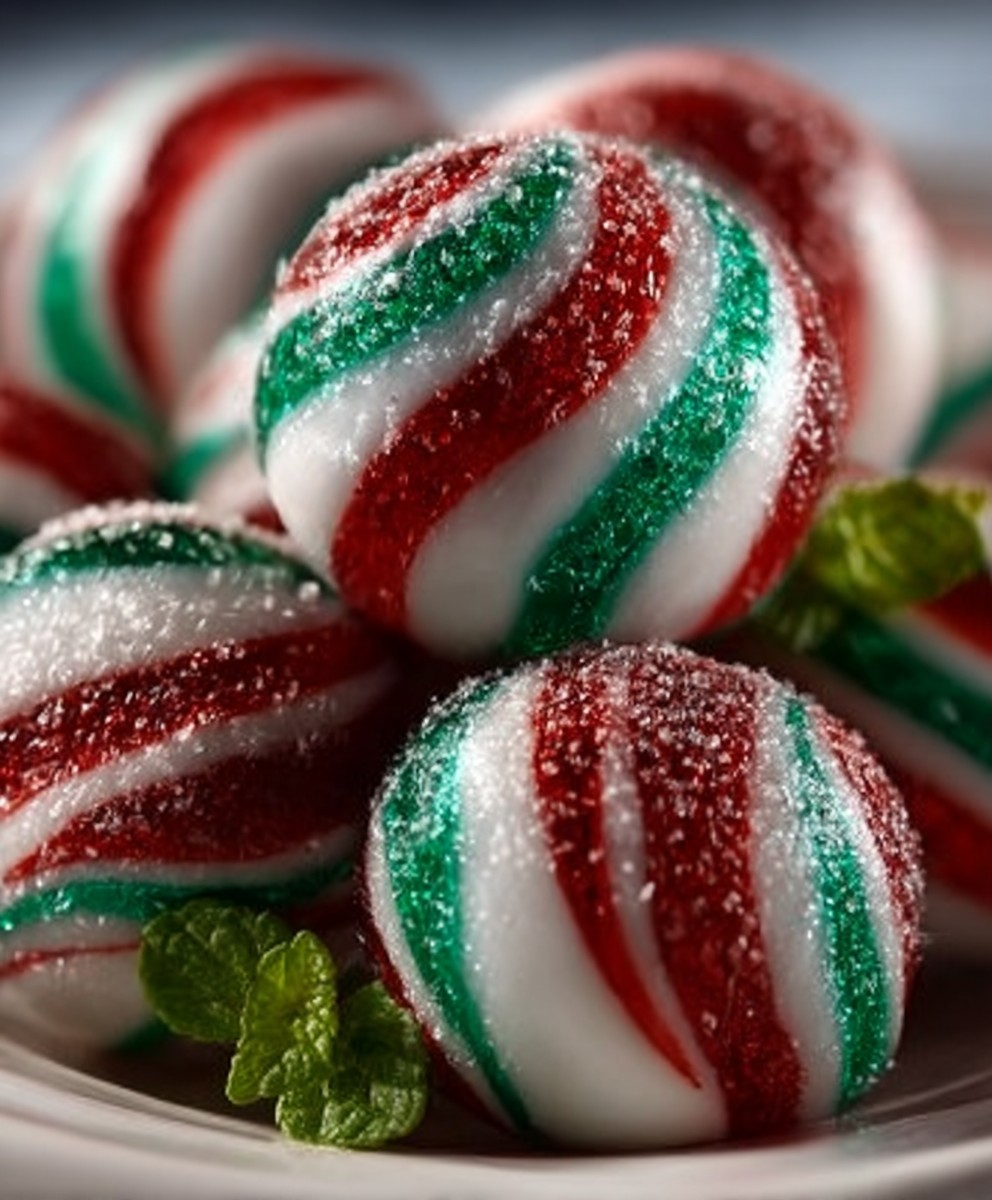
No-Bake Soft Peppermint Balls
No-Bake Soft Peppermint Balls are the perfect treat to bring a festive touch to any gathering. These delightful bites combine the refreshing flavor of peppermint with a creamy, melt-in-your-mouth texture that is simply irresistible. Originating from traditional holiday recipes, these peppermint balls have become a beloved favorite in many households, especially during the winter months when the scent of peppermint fills the air.
What makes No-Bake Soft Peppermint Balls so special is their convenience; you can whip them up in no time without ever turning on the oven. The combination of sweetened condensed milk, crushed cookies, and peppermint extract creates a flavor explosion that leaves everyone wanting more. Whether you’re serving them at a holiday party or enjoying them as a sweet snack, these treats are sure to bring joy to your taste buds. Join me as we dive into this easy and delightful recipe that captures the essence of the season!

Ingredients:
- 1 cup crushed vanilla wafers
- 1 cup powdered sugar
- 1/2 cup sweetened condensed milk
- 1/2 teaspoon peppermint extract
- 1/4 teaspoon vanilla extract
- 1 cup semi-sweet chocolate chips
- 1 tablespoon vegetable oil
- 1/4 cup crushed candy canes (for garnish)
Preparing the Mixture
- In a large mixing bowl, combine the crushed vanilla wafers and powdered sugar. Make sure to mix them well so that they are evenly distributed.
- Add the sweetened condensed milk to the dry ingredients. This will help bind everything together, so pour it in slowly while mixing.
- Next, add the peppermint extract and vanilla extract. These extracts will give the peppermint balls their delicious flavor. Stir the mixture until it is well combined and forms a thick dough.
- If the mixture feels too sticky, you can add a little more powdered sugar, one tablespoon at a time, until you reach a manageable consistency.
Shaping the Peppermint Balls
- Once your mixture is ready, it’s time to shape the peppermint balls. Take a small amount of the mixture (about a tablespoon) and roll it into a ball between your palms. Aim for a size similar to a marble.
- Place the rolled balls on a baking sheet lined with parchment paper. Make sure to leave some space between each ball, as they may slightly expand.
- Continue rolling the rest of the mixture into balls until all of it is used. You should have around 20-25 peppermint balls, depending on the size you choose.
Chilling the Balls
- Once all the balls are shaped, place the baking sheet in the refrigerator. Let them chill for at least 30 minutes. This will help them firm up and make them easier to coat in chocolate.
Preparing the Chocolate Coating
- While the peppermint balls are chilling, it’s time to prepare the chocolate coating. In a microwave-safe bowl, combine the semi-sweet chocolate chips and vegetable oil.
- Microwave the chocolate in 30-second intervals, stirring in between, until it is completely melted and smooth. Be careful not to overheat the chocolate, as it can burn easily.
- Once melted, remove the bowl from the microwave and let it cool for a minute or two. This will prevent the chocolate from being too hot when you dip the peppermint balls.
Coating the Peppermint Balls
- Take the chilled peppermint balls out of the refrigerator. Using a fork or a toothpick, dip each ball into the melted chocolate, ensuring it is fully coated.
- Allow any excess chocolate to drip off before placing the coated ball back onto the parchment-lined baking sheet.
- Repeat this process for all the peppermint balls. If you want to add a festive touch, sprinkle crushed candy canes on top of the chocolate coating before it sets.
Setting the Chocolate
- Once all the peppermint balls are coated and garnished, place the baking sheet back in the refrigerator. Let them chill for another 30 minutes to allow the chocolate to set completely.
- After the chocolate has hardened, you can transfer the peppermint balls to an airtight container for storage. They can be kept in the refrigerator for up to two weeks.
Serving Suggestions
- These no-bake soft peppermint balls are perfect for holiday gatherings, parties, or as a sweet treat to enjoy at home. You can serve them on a festive platter or package them as gifts for friends and family.
- For an extra touch, consider pairing them with a warm cup of hot chocolate or coffee. The combination of flavors will surely delight your taste buds!
Tips and Variations
- If you prefer a stronger peppermint flavor, feel free to increase the amount of peppermint extract to 3/4 teaspoon.
- For a different twist, you
Conclusion:
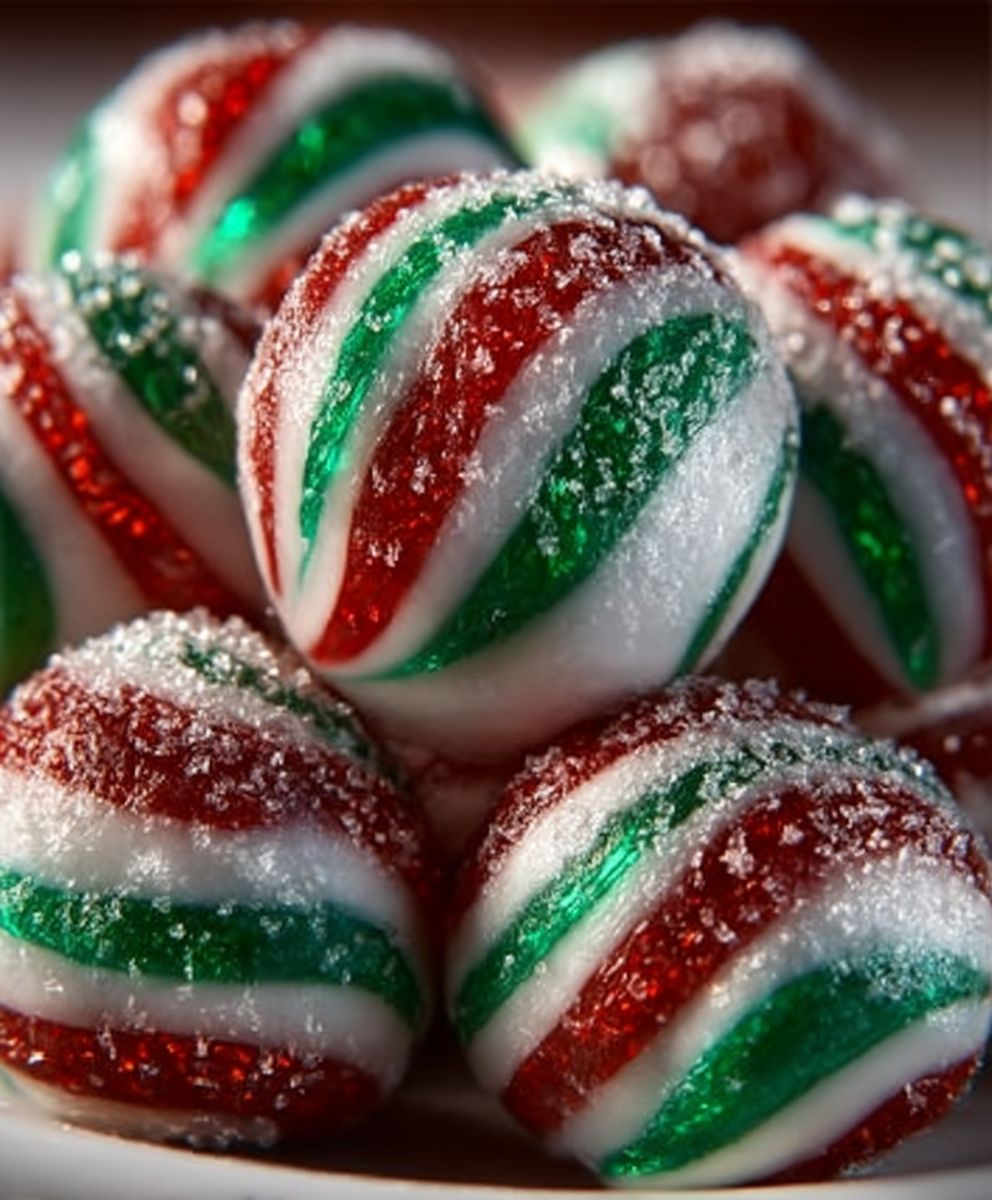
In conclusion, these No-Bake Soft Peppermint Balls are an absolute must-try for anyone looking to add a delightful and festive touch to their dessert table. Not only are they incredibly easy to make, but they also deliver a burst of refreshing peppermint flavor that is sure to please both kids and adults alike. The creamy texture combined with the crunchy bits of crushed candy canes creates a perfect balance that makes each bite a little piece of heaven.
If you’re looking to serve these delightful treats, consider pairing them with a warm cup of hot chocolate or a rich coffee to enhance the peppermint experience. They also make for a fantastic addition to holiday gift baskets or as a sweet surprise at parties. For a fun twist, you can experiment with different flavorings by substituting peppermint extract with other extracts like vanilla or almond, or even adding a splash of chocolate for a mint chocolate version. You could also roll them in different toppings such as crushed nuts, sprinkles, or even coconut flakes to give them a unique flair.
I encourage you to give this No-Bake Soft Peppermint Balls recipe a try! It’s a simple yet rewarding process that will fill your kitchen with the delightful aroma of peppermint and create a festive atmosphere. Plus, the best part is that you don’t need to turn on the oven, making it a perfect recipe for those hot summer days or when you simply want to avoid the hassle of baking. Once you make them, I would love to hear about your experience! Did you stick to the classic recipe, or did you try out some of the variations? Share your thoughts and any creative twists you added in the comments below or on social media. Your feedback not only inspires me but also helps others discover the joy of making these delicious treats.
So, gather your ingredients, roll up your sleeves, and let’s get started on making these delightful No-Bake Soft Peppermint Balls. I promise you won’t regret it, and your friends and family will be asking for seconds!
No-Bake Soft Peppermint Balls: Easy Recipe for a Festive Treat
Enjoy these no-bake peppermint balls, featuring a creamy, sweet center infused with refreshing mint, all coated in rich chocolate and topped with crushed candy canes. Perfect for holiday celebrations or as a thoughtful gift, these treats are sure to delight!
Ingredients
- 1 cup crushed vanilla wafers
- 1 cup powdered sugar
- 1/2 cup sweetened condensed milk
- 1/2 teaspoon peppermint extract
- 1/4 teaspoon vanilla extract
- 1 cup semi-sweet chocolate chips
- 1 tablespoon vegetable oil
- 1/4 cup crushed candy canes (for garnish)
Instructions
- In a large mixing bowl, combine the crushed vanilla wafers and powdered sugar. Mix well to ensure even distribution.
- Gradually add the sweetened condensed milk while mixing to bind the ingredients together.
- Stir in the peppermint extract and vanilla extract until the mixture forms a thick dough. If too sticky, add more powdered sugar, one tablespoon at a time.
- Roll about a tablespoon of the mixture into a ball between your palms, aiming for a marble-sized shape.
- Place the rolled balls on a parchment-lined baking sheet, leaving space between each.
- Continue rolling until all the mixture is used, yielding about 20-25 peppermint balls.
- Refrigerate the baking sheet for at least 30 minutes to firm up the balls.
- In a microwave-safe bowl, combine the semi-sweet chocolate chips and vegetable oil.
- Microwave in 30-second intervals, stirring in between, until melted and smooth. Let cool slightly.
- Remove the chilled peppermint balls from the refrigerator. Dip each ball into the melted chocolate using a fork or toothpick, ensuring full coverage.
- Allow excess chocolate to drip off before placing the coated ball back on the parchment-lined sheet.
- Sprinkle crushed candy canes on top of the chocolate coating before it sets, if desired.
- Return the baking sheet to the refrigerator for another 30 minutes to allow the chocolate to set completely.
- Once hardened, transfer the peppermint balls to an airtight container for storage. They can be kept in the refrigerator for up to two weeks.
- Serve these peppermint balls on a festive platter or package them as gifts. Pair with hot chocolate or coffee for a delightful treat.
Notes
- For a stronger peppermint flavor, increase the peppermint extract to 3/4 teaspoon.
- Feel free to experiment with different types of chocolate for coating.


Leave a Comment