
High Protein Cheesecake: A Deliciously Nutritious Treat
High Protein Cheesecake is not just a dessert; it’s a delightful way to indulge your sweet tooth while nourishing your body. Imagine sinking your fork into a creamy, velvety slice of cheesecake that not only satisfies your cravings but also packs a protein punch. This recipe is perfect for those who want to enjoy a guilt-free treat without compromising on flavor or texture.
The origins of cheesecake date back to ancient Greece, where it was served to athletes during the first Olympic Games. Over the centuries, this beloved dessert has evolved, and today, we have countless variations, including the modern twist of high protein cheesecake. People love this dish for its rich taste and satisfying texture, making it an ideal choice for a post-workout snack or a healthy dessert option.
What makes high protein cheesecake so appealing is its ability to combine indulgence with health benefits. With a creamy base made from cottage cheese or Greek yogurt, it offers a delightful balance of sweetness and creaminess, while the added protein helps keep you full and energized. Whether you’re a fitness enthusiast or simply someone who enjoys a delicious dessert, this high protein cheesecake is sure to become a favorite in your recipe collection.

Ingredients:
- 1 ½ cups of low-fat cottage cheese
- 1 cup of Greek yogurt (plain, non-fat)
- ½ cup of protein powder (vanilla or unflavored)
- ½ cup of granulated sweetener (like erythritol or stevia)
- 3 large eggs
- 1 teaspoon of vanilla extract
- 1 tablespoon of lemon juice
- 1 teaspoon of baking powder
- 1 cup of almond flour (for the crust)
- ¼ cup of melted coconut oil (for the crust)
- 2 tablespoons of sweetener (for the crust)
- Pinch of salt
Preparing the Crust
- Preheat your oven to 350°F (175°C). This will ensure that your cheesecake bakes evenly.
- In a medium mixing bowl, combine the almond flour, melted coconut oil, sweetener, and a pinch of salt. Mix until the ingredients are well combined and form a crumbly texture.
- Press the mixture firmly into the bottom of a 9-inch springform pan. Make sure to create an even layer across the bottom. You can use the back of a measuring cup to help with this.
- Bake the crust in the preheated oven for about 10-12 minutes, or until it is lightly golden. Once done, remove it from the oven and let it cool while you prepare the filling.
Preparing the Filling
- In a blender or food processor, add the low-fat cottage cheese and Greek yogurt. Blend until smooth and creamy. This step is crucial for achieving a silky texture in your cheesecake.
- Add the protein powder, granulated sweetener, eggs, vanilla extract, lemon juice, and baking powder to the blender. Blend again until all ingredients are well incorporated and the mixture is smooth.
- Scrape down the sides of the blender as needed to ensure everything is mixed thoroughly. The filling should be thick but pourable.
Assembling the Cheesecake
- Once the crust has cooled, pour the cheesecake filling over the crust in the springform pan. Use a spatula to spread it evenly.
- Tap the pan gently on the counter to release any air bubbles that may have formed in the filling.
- Place the cheesecake in the oven and bake for 30-35 minutes. The edges should be set, but the center may still have a slight jiggle. This is normal, as it will firm up as it cools.
Cooling and Serving
- After baking, turn off the oven and crack the oven door open. Let the cheesecake cool in the oven for about 1 hour. This gradual cooling helps prevent cracks from forming on the surface.
- Once cooled, remove the cheesecake from the oven and let it cool to room temperature on the counter for another hour.
- Cover the cheesecake with plastic wrap or aluminum foil and refrigerate for at least 4 hours, or overnight for the best results. This chilling time allows the flavors to meld and the texture to set properly.
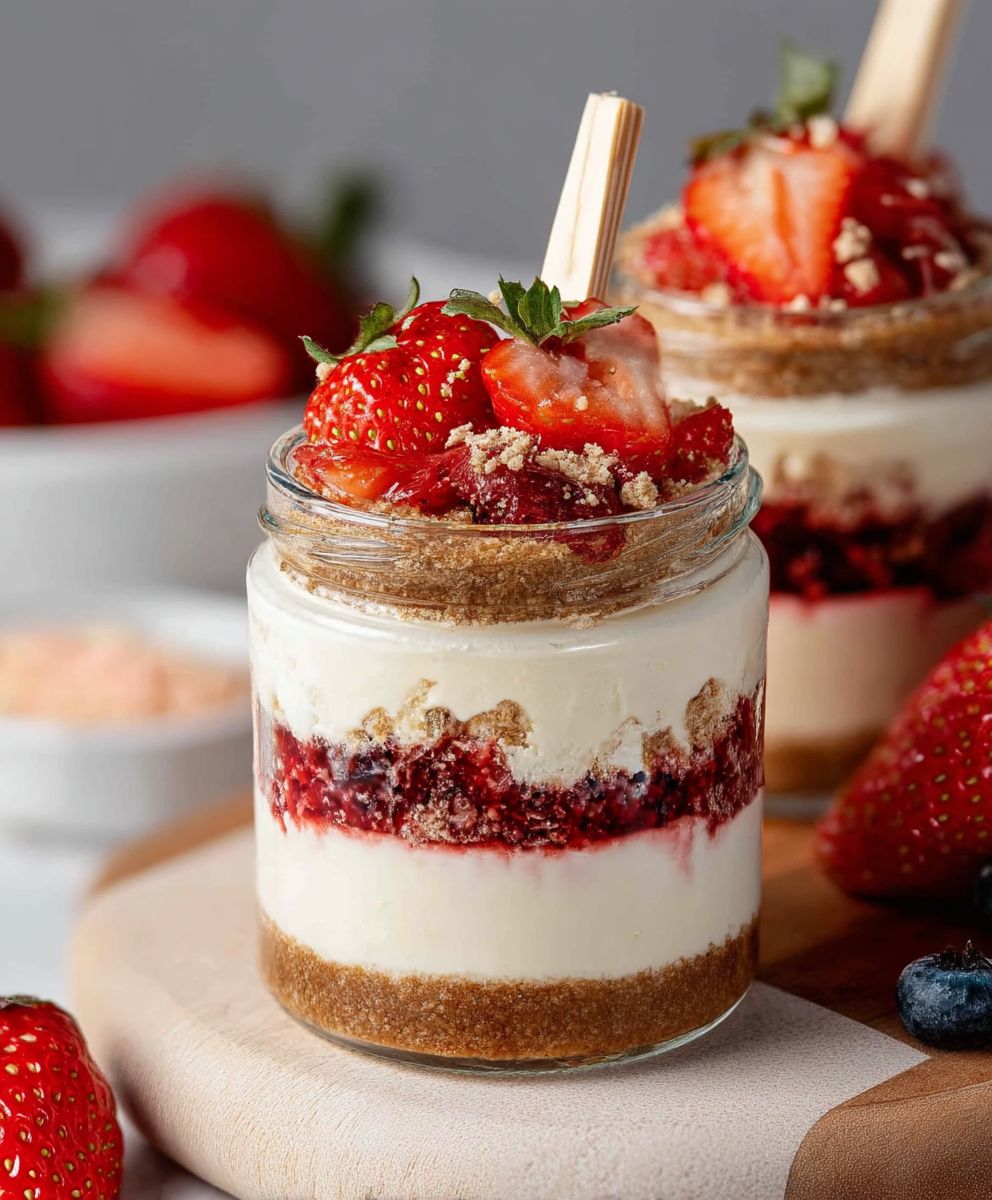
- When ready to serve, carefully remove the sides of the springform pan. You can slice the cheesecake into wedges and serve it plain or with your favorite toppings, such as fresh berries, a drizzle of sugar-free chocolate sauce, or a dollop of whipped cream.
Storage Tips
- Store any leftover cheesecake in an airtight container in the refrigerator for up to 5 days.
- If you want to keep it longer, you can freeze individual slices. Wrap each slice tightly in plastic wrap and then place them in a freezer-safe bag. They can be frozen for up to 3 months.
- To thaw, simply place the slice in the refrigerator overnight or let it sit at room temperature for about 30 minutes before enjoying.
Variations and Add-Ins
- Chocolate Protein Cheesecake: Substitute half of the protein powder with chocolate protein powder for a rich chocolate flavor.
- 1 ½ cups low-fat cottage cheese
- 1 cup Greek yogurt (plain, non-fat)
- ½ cup protein powder (vanilla or unflavored)
- ½ cup granulated sweetener (like erythritol or stevia)
- 3 large eggs
- 1 teaspoon vanilla extract
- 1 tablespoon lemon juice
- 1 teaspoon baking powder
- 1 cup almond flour (for the crust)
- ¼ cup melted coconut oil (for the crust)
- 2 tablespoons sweetener (for the crust)
- Pinch of salt
- Preheat your oven to 350°F (175°C).
- In a medium mixing bowl, combine the almond flour, melted coconut oil, sweetener, and a pinch of salt. Mix until the ingredients are well combined and form a crumbly texture.
- Press the mixture firmly into the bottom of a 9-inch springform pan to create an even layer.
- Bake the crust in the preheated oven for about 10-12 minutes, or until lightly golden. Remove from the oven and let it cool.
- In a blender or food processor, add the low-fat cottage cheese and Greek yogurt. Blend until smooth and creamy.
- Add the protein powder, granulated sweetener, eggs, vanilla extract, lemon juice, and baking powder. Blend again until well incorporated and smooth.
- Scrape down the sides of the blender as needed to ensure everything is mixed thoroughly.
- Once the crust has cooled, pour the cheesecake filling over the crust in the springform pan. Spread it evenly with a spatula.
- Tap the pan gently on the counter to release any air bubbles.
- Bake for 30-35 minutes, until the edges are set and the center has a slight jiggle.
- After baking, turn off the oven and crack the door open. Let the cheesecake cool in the oven for about 1 hour.
- Remove from the oven and let it cool to room temperature for another hour.
- Cover with plastic wrap or aluminum foil and refrigerate for at least 4 hours, or overnight for best results.
- Carefully remove the sides of the springform pan and slice into wedges. Serve plain or with toppings like fresh berries or sugar-free chocolate sauce.
- For a chocolate variation, substitute half of the protein powder with chocolate protein powder.
Conclusion:
If you’re looking for a dessert that satisfies your sweet tooth while also packing a protein punch, this High Protein Cheesecake is an absolute must-try! Not only does it deliver on flavor, but it also aligns perfectly with your health goals, making it a guilt-free indulgence. The creamy texture and rich taste will have you forgetting that it’s a healthier option, and the best part is that it’s incredibly easy to make.
For serving suggestions, consider topping your cheesecake with fresh berries, a drizzle of honey, or a sprinkle of crushed nuts for added texture and flavor. You can also experiment with different flavor variations by incorporating ingredients like cocoa powder for a chocolate twist, or adding a hint of citrus zest for a refreshing lemon or orange cheesecake. If you’re feeling adventurous, try mixing in some peanut butter or almond extract to create a nutty version that’s sure to impress your friends and family.
I encourage you to give this High Protein Cheesecake a try and see for yourself how delicious and satisfying it can be. Whether you’re serving it at a gathering or enjoying a slice as a post-workout treat, I promise it will be a hit. Don’t forget to share your experience with me! I’d love to hear how your cheesecake turned out and any creative twists you added to the recipe.
So, roll up your sleeves, gather your ingredients, and get ready to whip up a dessert that not only tastes amazing but also supports your healthy lifestyle. Trust me, once you try this High Protein Cheesecake, it will become a staple in your dessert rotation. Happy baking!
High Protein Cheesecake: A Delicious and Nutritious Dessert Recipe
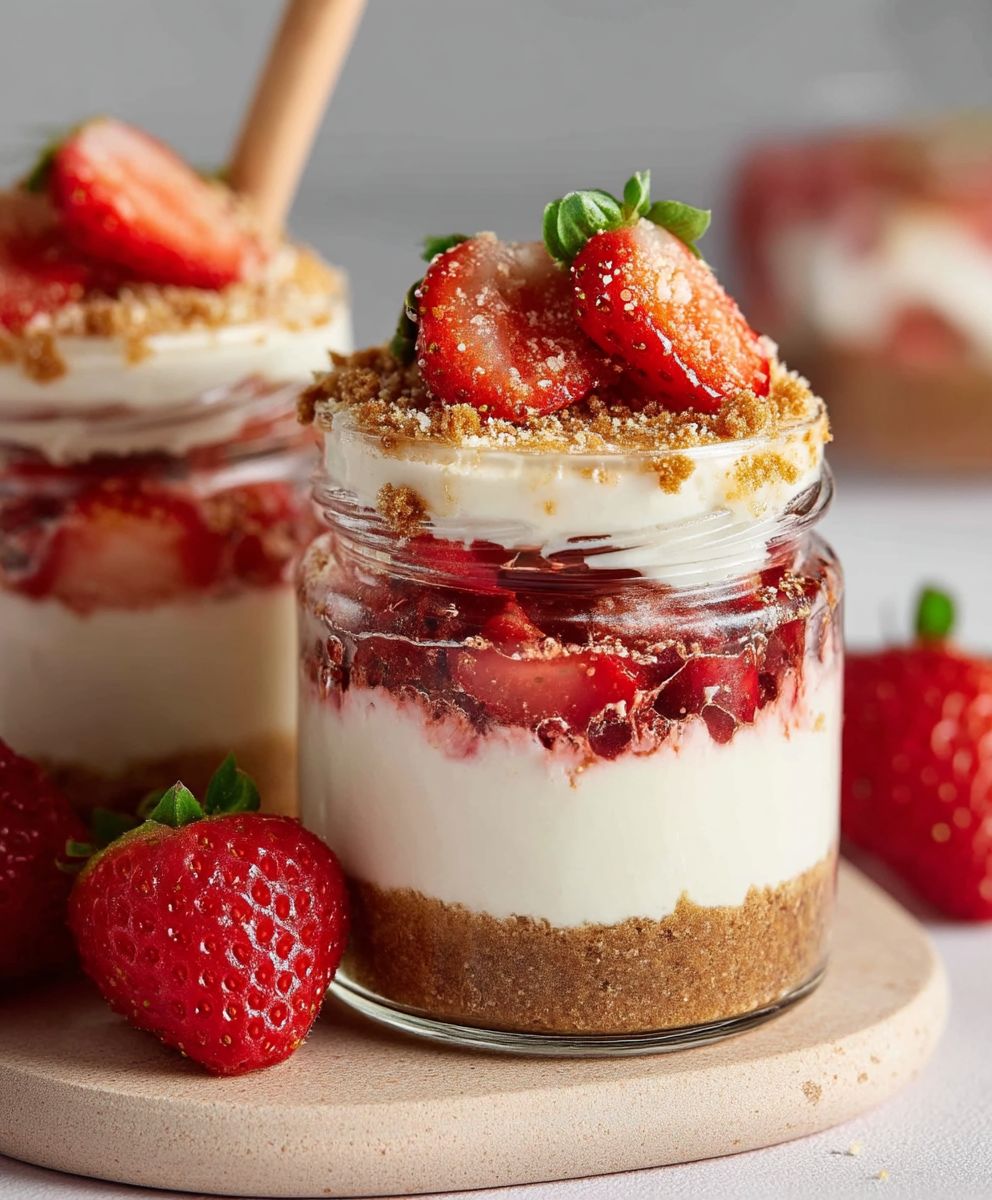
This low-carb cheesecake features a creamy filling made from cottage cheese and Greek yogurt, paired with a nutty almond flour crust. It's a healthy, protein-packed dessert that can be customized with your favorite flavors, making it perfect for any occasion!


Leave a Comment